When dinner time comes, you wouldn’t rush right into eating the ingredients, would you? At best, you would end up with an incomplete meal, and at worst, you would end up with salmonella! Likewise, when your home exterior needs paint, you don’t simply throw paint on your walls. There is a recipe you need to follow and some table settings that need to be arranged before your home is ready to paint and enjoy. Otherwise, disaster looms!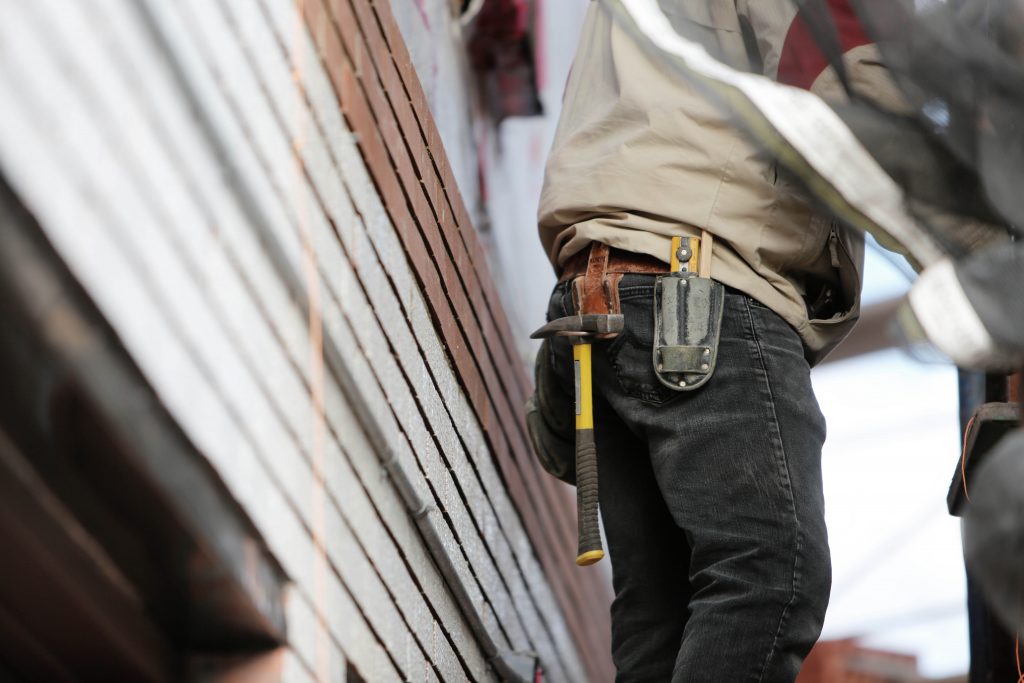
Step 1: Thorough Cleaning prior to Exterior Painting
The first essential step to exterior house painting is thorough cleaning. Painting an exterior surface that has not been cleaned can lead to severe problems. The paint may not adhere well, and is therefore likely to fail quickly. If this happens, not only do you need to repaint the house, but you will also need to scrape off failed and peeling paint before you can repaint your home’s exterior. Painting a dirty exterior can also trap dirt and moisture in, leading to damaged wood and further need for repairs.
Pressure washing is an excellent way to go about comprehensively cleaning the exterior of your home prior to painting. It quickly removes surface contaminants, but it can also damage the siding if you are not experienced with the correct procedures. Also, remember that the surface must dry thoroughly after pressure washing before you begin painting.
Step 2: Surface Restoration
Restoration is the second step which is necessary is to prepare the exterior home surfaces for painting. This might take the form of replacing the caulk around window trim or scraping peeling paint off an old deck railing. Pay especially close attention to all the wood on your home’s exterior, such as wooden siding, trim, decks, railings, shutters, or front door. Check that the wood is not rotting, cracked, or warped. If the surface isn’t in good condition, it will need to be repaired or replaced before painting. Also, any repaired wood needs to be primed prior to painting.
Step 3: Protect Everything Else
Protection is a sadly underemphasized aspect of preparing for exterior painting, but one homeowners definitely regret if it’s forgotten. You don’t want to end up with parts of your home you weren’t planning to paint speckled with splatters and drips! This step doesn’t take very long and isn’t too difficult. You just need to make sure that any nearby surface that should not get paint on it is covered. Use tarps, drop cloths, tape, plastic, and/or newspaper to protect these surfaces. Be careful, as paint can get places you might not expect!
Consider Whether or Not You Should Hire a Professional
If you have experience in these preparation techniques, then you are in good shape to tackle this project on your own. However, if you aren’t sure how to handle a pressure washer, if you don’t have carpentry skills to replace damaged wood, or if you aren’t comfortable using ladders and tarps in the protection process, you probably want to hire a professional house painter.
Cherry Hill Painting serves New Jersey and the Philadelphia region. On every exterior painting project, we make sure to thoroughly prepare every surface, ensuring an excellent result. If you would like a free quote for your exterior painting project, give us a call or contact us online. We would be delighted to serve you.